
I do not like cakeballs. There, I said it. I know that this makes me some kind of wierdo, but they are just too sweet for me. But, to each his own. And most people LOOOVE cakeballs. Therefore I have made hundreds of cakeballs for other people and they are pretty popular.
Cakeballs are my one hit wonder. They are the one thing that I can bake consistently well. (You will see soon just how easy they are and that will no longer impress you.)
When Konrad and I first got married my college roommate Caroline came to visit. She told me before she came that she was bringing the supplies to make something called cakeballs and that I just had to try them. We worked very hard together to make those little balls and since it was my first time to make them and only her second they turned out tasty, but not too pretty.
When she left that weekend she took a few for the road, but left the majority with us. I was worried as to what we were going to do with dozens of strawberry cakeballs, but Konrad gobbled them right up. I tried various flavor combinations trying to find one that I liked, but I eventually determined that I just do not like cakeballs and I am okay with that. (I will eat the funfetti ones, but I think that I would eat anything mixed with funfetti!)
Now you are probably wondering what this post has to do with Pinterest. Well, cakeballs used to be this hidden little gem that me and my good friends knew about, but most people had not even heard about them. It was fun getting to tell people about cakeballs and giving them their first taste. But now with Pinterest out there EVERYONE is on the cakeball bandwagon. (I actually saw that they sell cakeballs at Buc-ee's gas station on my way to Austin last month.)


So, now that you have seen those beautiful pictures you may not have the desire to keep reading my recipe about how to make my dumpy little cakeballs, but I promise that this is my most popular combination. My main reason for writing this out in blog/picture form is that next time someone asks for the recipe I can just send them the link :)
Cakeballs are actually really easy. I make them using boxed cake and canned icing. This Oreo cakeball recipe is a little unique because I add in crushed Oreos, but in general you do not need much more than a cake, icing, and candy coating. Don't worry if you do not like Oreos because I have included some other cakeball combinations at the bottom. The basic steps will be the same. (By the way, if you do not like Oreos you are stranger than me for not liking cakeballs!)
So, let's get started...
Gather the items that you will need.

Ingredients:
Devil's Food Cake Mix
Oil
Water
Eggs
Vanilla Frosting
15 Oreos
1 or 2 packages of vanilla candy coating
The first thing you are going to do is bake the cake as directed on the package.

Before

After
Now, this is the part that is most difficult to explain so I am glad I finally took some pictures to go along with my explanation. See that cake in the above 'After' picture? It had only been out of the oven for 30 seconds before I took this picture...

And before I let another 30 seconds pass I did this...

That's right. I dumped an entire tub of icing onto a burning hot cake. Even though you are generally told to let a cake cool before you ice it this is not the case with cakeballs. Do not ice the cake on top, but actually mix the icing in so that it melts into the cake. (I suggest you use an oven mitt on one hand to hold the pan and a spoon in the other to mix it.)
1) The icing melts quickly and absorbs right into the cake.
2) If you let the cake cool then the top layer will start to harden. This will make your cakeballs lumpy.
Here is the added step for the Oreo cakeballs:
Crush 10 Oreos with your hands and pour them into the cake/icing mixture. Stir it in just as you did the icing.
 Add 10 Oreos
 Mix Well
If you are making another combination just go ahead and skip that step.
Now that you have your cake and icing mixed it is okay to let them cool for about 15 minutes. You do NOT want to start forming the balls when the mixture is still too hot. Trust me!
Form the cooled mixture into little balls. Some people use a measuring scoop to ensure that each ball is the same size. I just eyeball it and they are generally the same size. (The only reason that the mixture looks darker than the previous pictures is because the icing has completely melted and mixed into the cake during the cooling process. Also, I am not that good of a photographer.)

Here is the added step for the Oreo cakeballs:
Crush 10 Oreos with your hands and pour them into the cake/icing mixture. Stir it in just as you did the icing.


If you are making another combination just go ahead and skip that step.
Now that you have your cake and icing mixed it is okay to let them cool for about 15 minutes. You do NOT want to start forming the balls when the mixture is still too hot. Trust me!
Form the cooled mixture into little balls. Some people use a measuring scoop to ensure that each ball is the same size. I just eyeball it and they are generally the same size. (The only reason that the mixture looks darker than the previous pictures is because the icing has completely melted and mixed into the cake during the cooling process. Also, I am not that good of a photographer.)

Next you will take a cookie sheet and cover it with wax paper. Place the cakeballs on the wax paper. You can put them as close as possible without touching. You should be able to fit them all on one tray.

Note: I use a disposable cookie sheet for this because a regular sized cookie sheet will not in my freezer. Freezing is a requirement so if your cookie sheet does not fit in your freezer then you will need to get a smaller one or find some random things from your kitchen that will hold the cakeballs and still fit in the freezer. (Cutting boards, Tupperware, etc.)

This time I made 32 1/2. That one in the top right corner was too small to consider a full cakeball, but I didn't want to waste anything!
Now here is the deal with freezing:
You need to freeze them for a minimum of one hour so that they can harden and cool enough to be dipped. But, if you do not have the time to do the whole project in one day you can freeze them overnight.
If you are ever in a situation where you have frozen them overnight, but do not have time to dip them the next day you can keep them in the freezer long term like other foods. Just make sure that you take them off the tray and place them in a freezer bag or freezer safe air tight container as soon as possible. You don't want them to get freezer burn!
Once you have let them freeze take the tray out of the oven and it is time to start the dipping/decorating part!
For Oreo cakeballs you will have to take an additional 5 Oreos and remove the filling. I just use a butter knife to do this.

What you do with the middles is up to you, but they are not needed for the topping. Since I do not actually eat the finished cakeballs I consider this deliciousness my reward for making them!

Crush the remaining cookies as finely as you can. This will be used to sprinkle on top of the dipped cakeballs so it is important that you get the pieces very small.
Now you need to melt the vanilla coating. Vanilla is much more sensitive than the chocolate coating. If you have had experience with chocolate coating, but not vanilla coating then make sure you follow these directions.
1) Pour the candy pieces into a microwave safe bowl. (You can buy the kind that comes in a microwavable tray, but that contains less candy and you will probably end up using 2 packages.)

Microwave the bowl or tray for 30 seconds. Remove from microwave and stir. Put it back in the microwave for another 30 second. Remove and stir. Continue to do this until it is completely melted.
The first time you pull it out and see that not much has changed you are going to be tempted to zap it for more than 30 seconds. DO NOT do that! If the vanilla cooks for just a few seconds to long the entire container is ruined!
It should end up smooth like this...
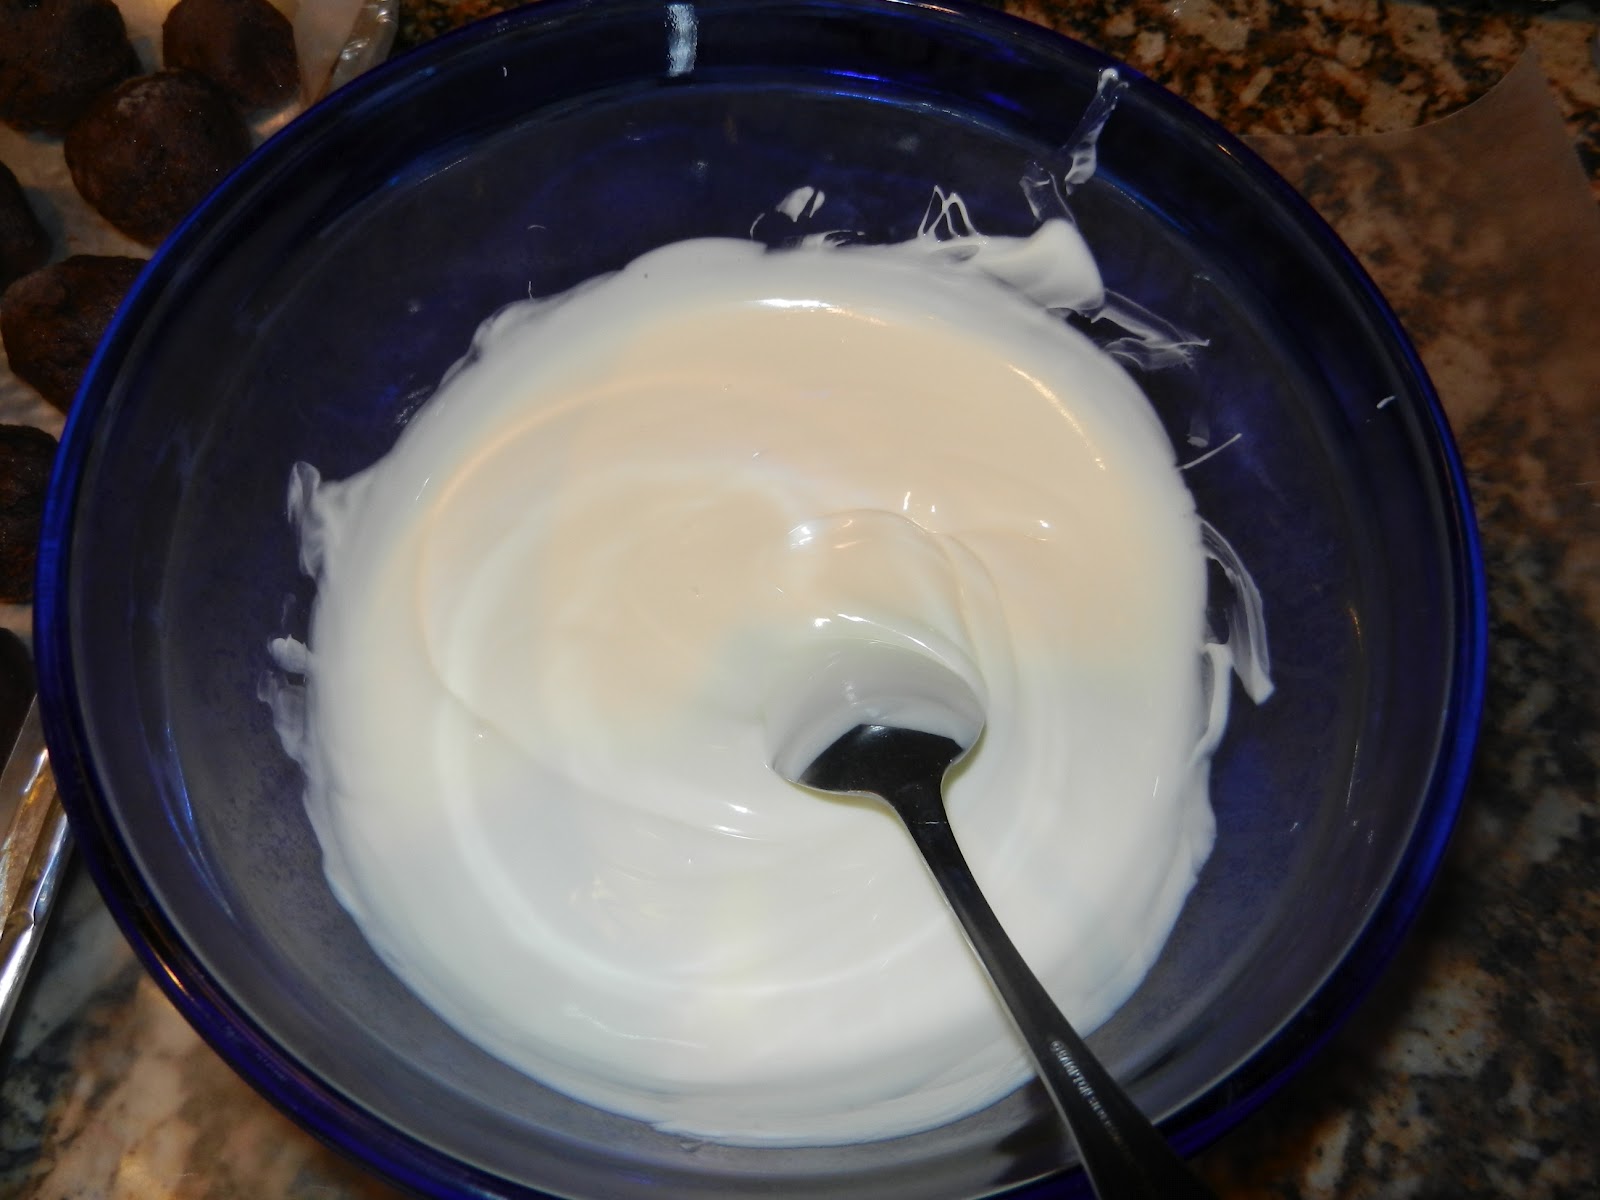
Now you can dip the cakeballs into the coating. I use a large metal spoon to flip the cakeballs and then scoop them out. Gently pull them out and place them on the wax paper to cool.

The vanilla coating will harden quickly so go ahead and sprinkle them with the Oreo crumbs as soon as you get them on the wax paper. Do not wait until you have dipped all of the cakeballs. The crumbs will not stick if the coating is too hard.

Leave them on the wax paper until they are all completely hard.

At this point you can place them on a serving tray or in a storage container.
They can stay in an airtight container at room temperature for about 4-6 days or frozen in an airtight freezer container for up to a month.
I hope you enjoy!!
Other Cakeball Combinations I have tried:
Strawberry Cake- Cream Cheese Icing- Vanilla Coating
Red Velvet Cake- Cream Cheese Icing- Vanilla Coating
Yellow Cake- Chocolate Icing- Chocolate Coating
Funfetti Cake- Funfetti Icing- Vanilla Coating (top with the sprinkles that come with icing)
AHHH! Thank you so much for posting this! It makes it seem so easy. I have done this once and I felt like I was making it way harder than it should have been!
ReplyDeleteI will also be adding your blog... :)
Thanks, Carrie! Let me know how they turn out if you do decide to make them :)
ReplyDeleteThanks for taking the time to show us how to make your cakeballs. They are tasty!
ReplyDelete